Getting Started
Use this guide to set up your account, create your first project, understand the project workspace, choose the desktop app or CLI, and start a safe AI workflow.
1. Sign In
Open Gitghost AI and sign in with the method your organization uses. If you are new to Gitghost AI, create an account from the registration page.
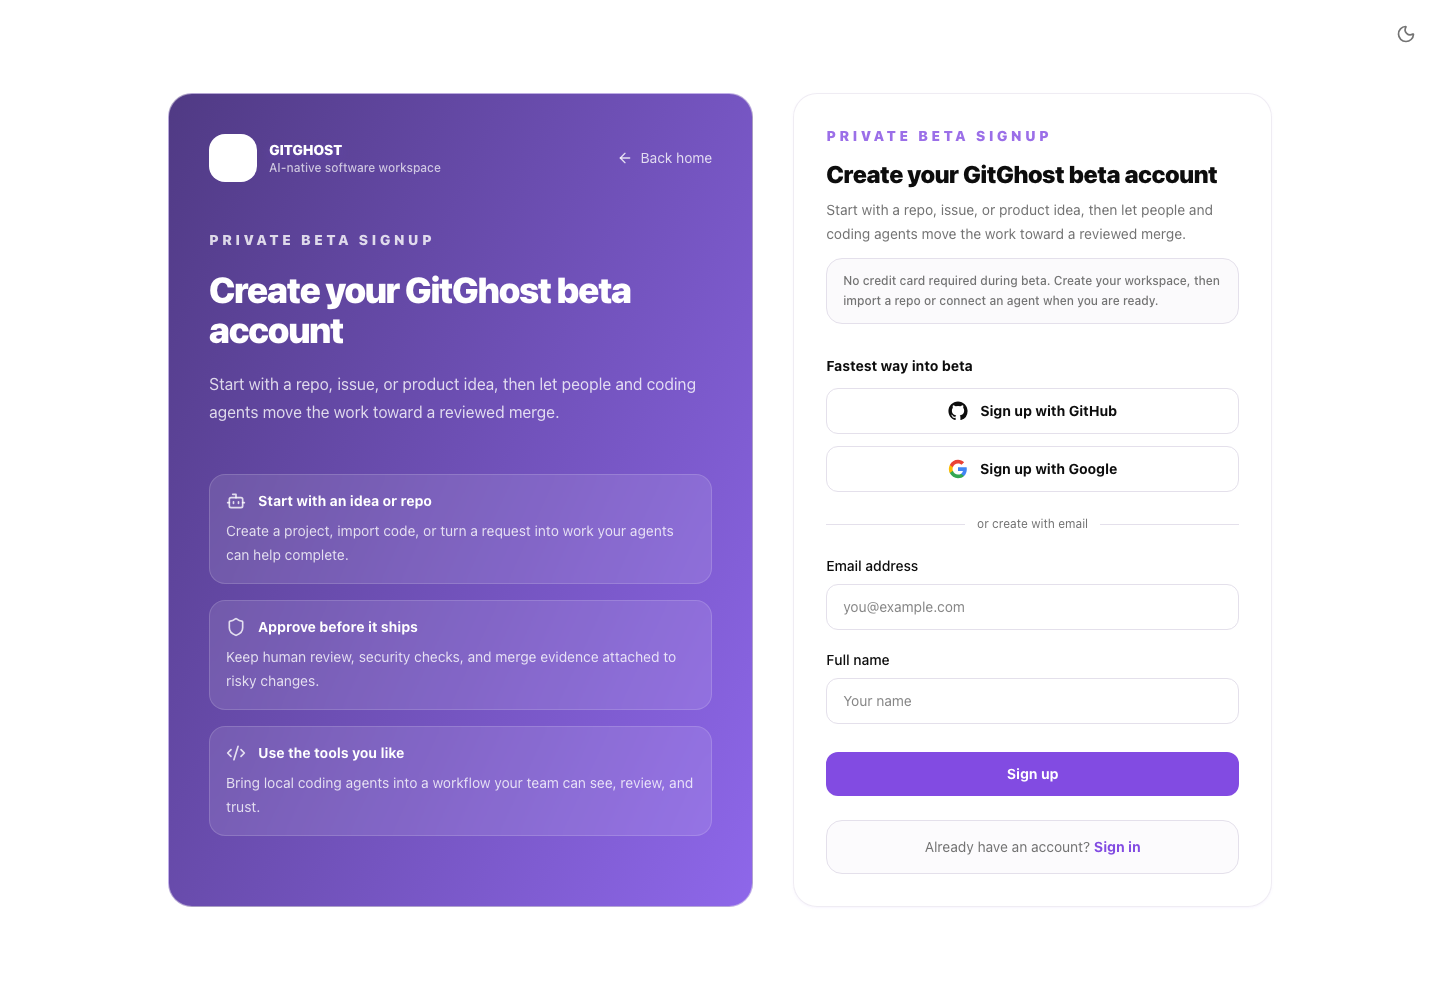
After sign-in, the dashboard gives you access to projects, groups, search, AI workflows, CLI setup, and account settings.
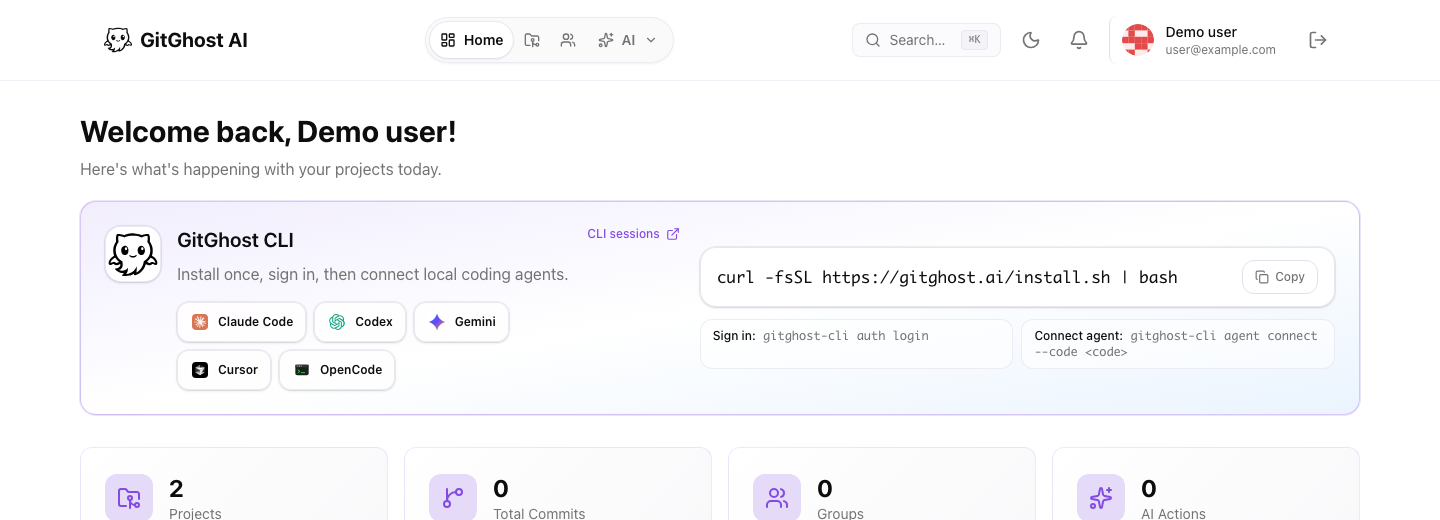
2. Create Or Import A Project
A project is the workspace where Gitghost AI keeps repository context, issues, boards, merge requests, pipelines, releases, security evidence, and AI activity.
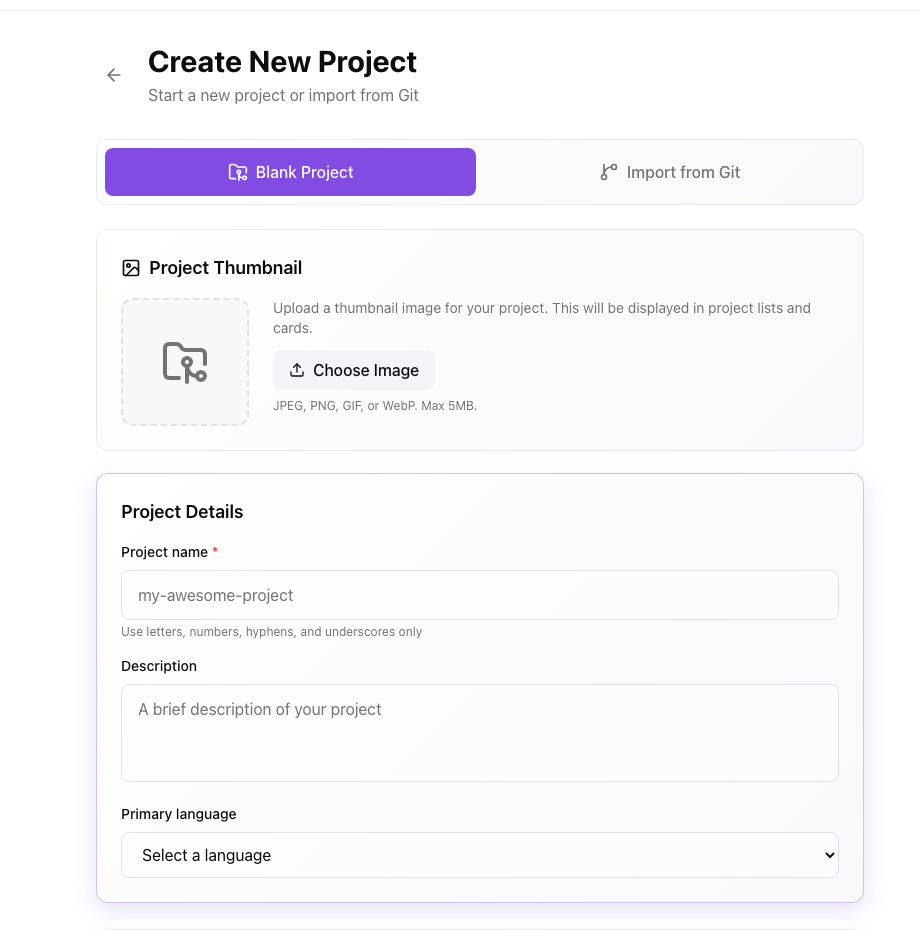
Choose:
- Blank Project when you want to start from scratch.
- Import from Git when you already have a repository.
Before importing private code, confirm you have permission and the right access token or provider connection.
If you are joining an existing team project, review Collaboration, members, and groups before changing project access.
3. Learn The Project Workspace
Open the project and review the tabs.
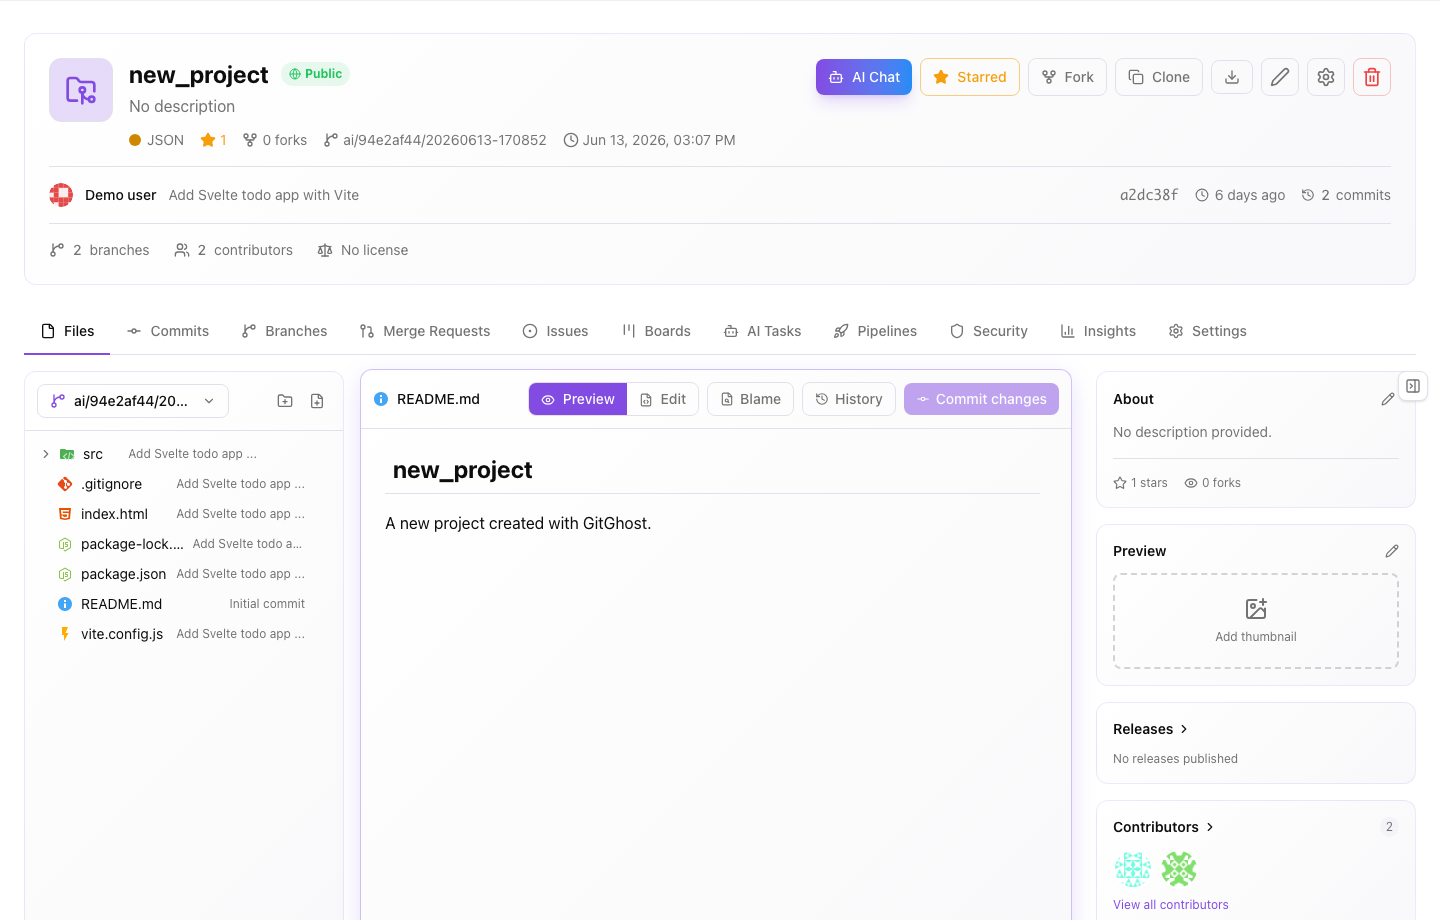
Core tabs:
- Code for files, commits, branches, and clone controls.
- Issues for tracked work.
- Boards for workflow and sprint planning.
- Merge Requests for code review.
- Pipelines for automated validation.
- Releases for packaged versions.
- Security for scans, alerts, and project secrets.
- AI tabs for contributions, tasks, approvals, guardrails, and evidence.
- Settings for project configuration.
4. Use The Desktop App
GitGhost Desktop brings local coding agents, files, Git review, terminals, browser and mobile previews, captured sessions, and governed actions into one project-aware workspace.
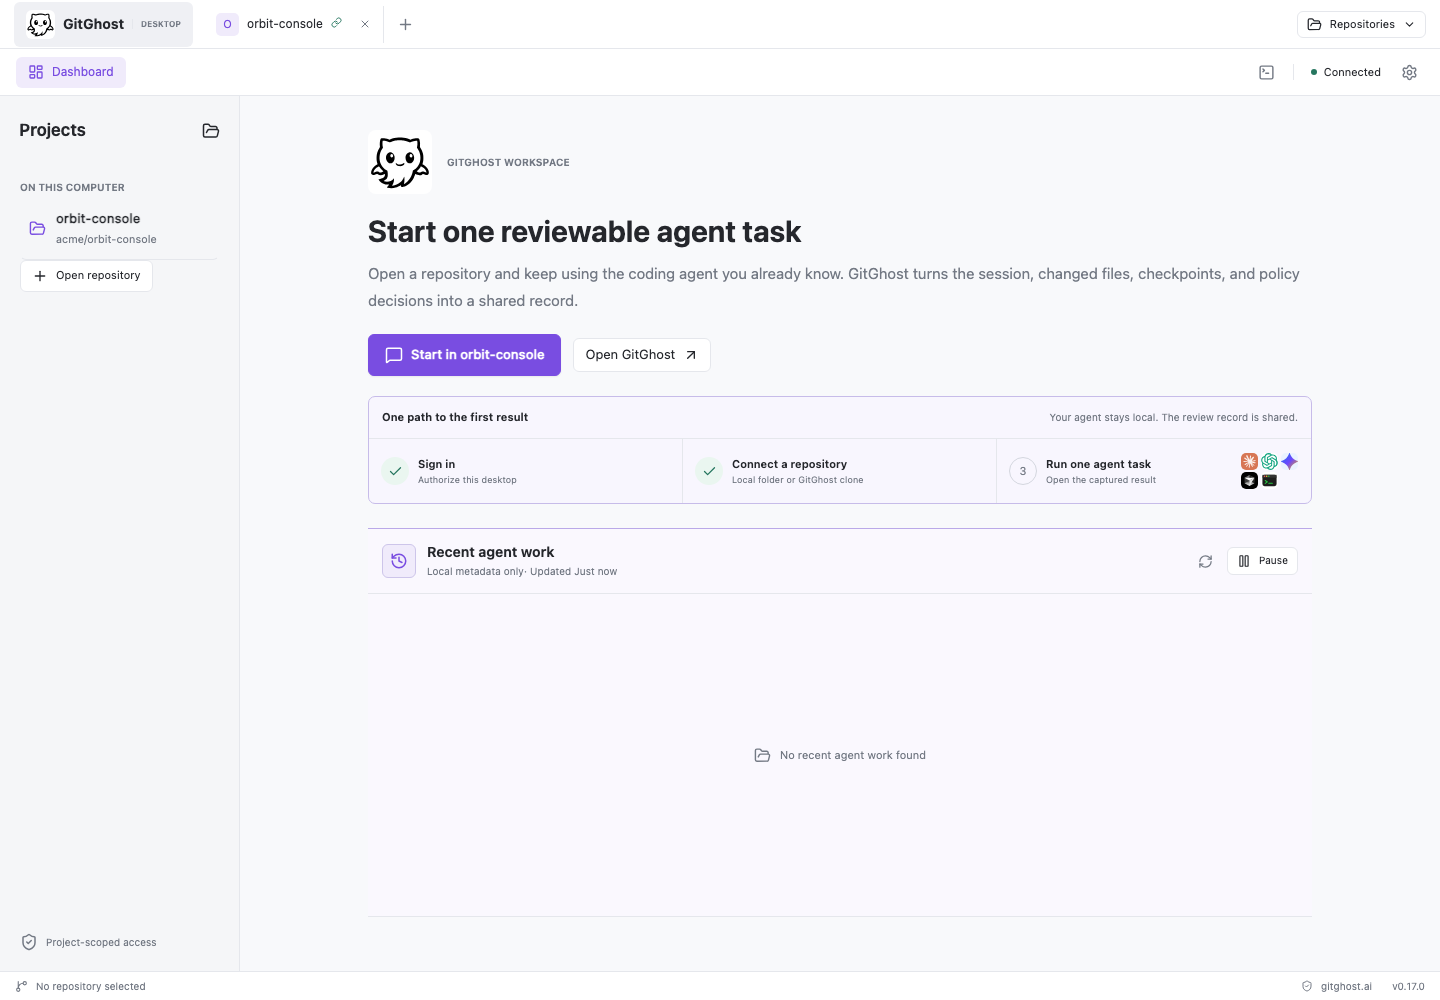
Visit gitghost.ai from the computer where you want to install it. The site detects the operating system and serves the private installer after sign-in. Then follow Install GitGhost Desktop and Open a desktop project.
The desktop app is optional. Use it when you want a visual workspace around local agents; use the CLI when you prefer a terminal-only workflow.
5. Install The CLI
The CLI connects your terminal to Gitghost AI so local coding agent work can become reviewable project evidence. Use it when you want Claude Code, Codex, Gemini CLI, Cursor, OpenCode, or another local tool to keep working on your machine while Gitghost AI records sessions, action requests, scan evidence, patch proposals, and Git credential setup.
curl -fsSL https://gitghost.ai/install.sh | bash
cd /path/to/your/repository
gitghost-cli start
start guides account login, direct GitGhost repository selection, agent setup, and the first reviewable task. If sign-in is required, run the exact auth login command it prints and then rerun start. Use Use GitGhost From Your Terminal for the full first-win flow.
6. Start With A Safe AI Flow
Open AI agent settings and providers first if you need to enable a local coding agent or add a provider key.
Open AI chat and agent pairing and start with a small read-only prompt:
Summarize the repository structure and identify the main test command.
Do not create branches, commits, issues, or merge requests.
After the chat or local-agent run, review AI sessions and evidence to understand what Gitghost AI recorded.
7. Review Before Merge
When work is ready, use:
- Issues to confirm the request.
- Issue review and AI handoff to keep comments, AI assignment, and activity linked.
- Merge request review to review the diff, comments, provenance, and merge readiness.
- Pipeline runs and artifacts to check validation logs and outputs.
- Security scans and remediation to check security evidence.
- AI jobs, plans, and approvals to review AI action requests.
- AI tasks, contributions, and activity to connect AI work back to sessions and commits.
Only merge work you understand and can support.